Document & Trim Size
Document, Canvas, Artboard and Page Size
These terms all refer to how you setup your print project on the computer. It determines where your document will trim during production and where your trim lines will show on the screen. (Trim lines are black guide lines).
Trim Size and Folded Size
These refer to what size the actual printed product will be. This is after the print has been trimmed and/or folded. It depends on the right document size and bleed settings.
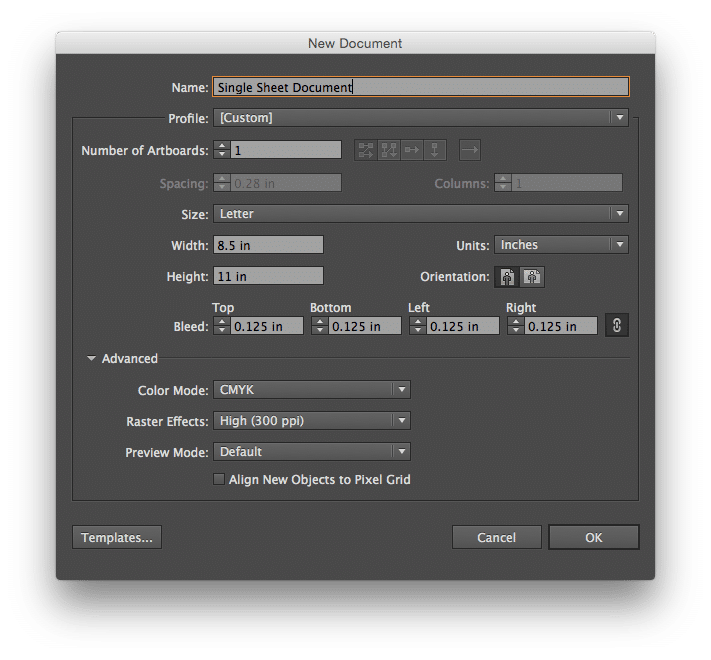
SETTING UP DOCUMENT SIZE IN INDESIGN AND ILLUSTRATOR
During File Setup always make your Document Size equal to what size you want your final print to be (Trim
Size).
Example: To design an 8.5″x11″ letterhead in Illustrator, make your document 8.5″x11″.
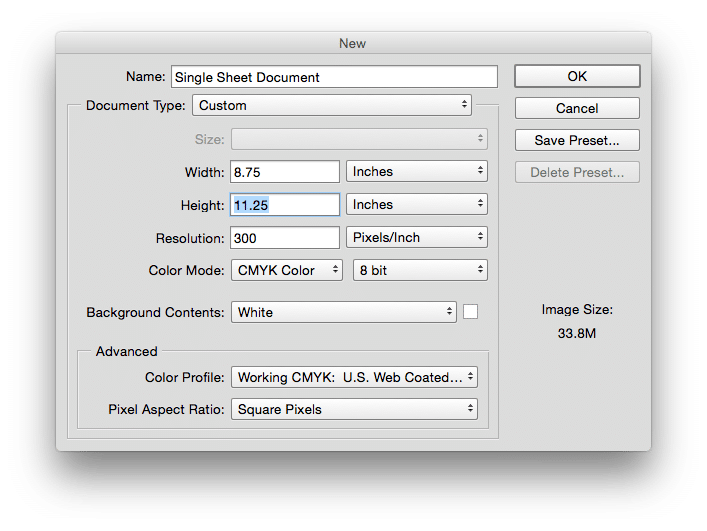
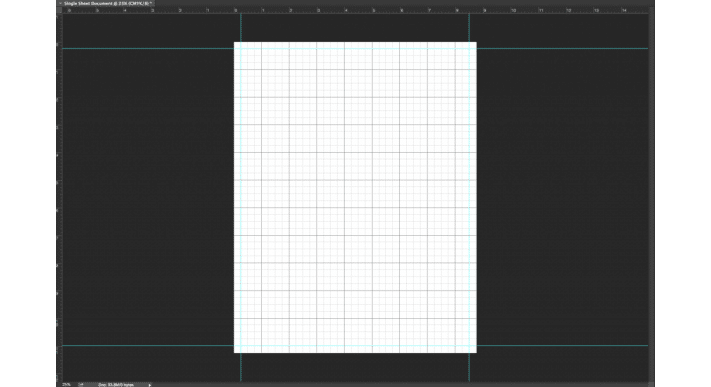
SETTING UP DOCUMENT SIZE IN PHOTOSHOP
Make your Document Size equal to the final Trim Size + Bleed. We require .125″ of bleed per side. Add .25″ to the width and height. Use guides to mark where the document will trim as you design. When exporting make sure to save a photoshop pdf with bleed or use our SG High Res preset. Example: To design an 8.5″x11″ Letterhead in Photoshop, make your document 8.75″x11.25″